
Cookbook
The following step are required to setup a new web project based on J4Fry architecture.
This cookbook is for people who want to start quickly with a production grade tomcat JSF project. Everything is kept easy and we hope you have fun following these guidelines.
This cookbook includes instructions to start a project with database support. The instructions for database support are marked as optional and can be omitted if a non-database project is to be started.
To make things easy we provide a quick setup project that contains all the necessary configurations, launch scripts and some example code to get you up and running within one hour. The quick setup comes in two flavours: with and without database support through hibernate ORM. The quick setup with hibernate includes instructions how to get a postgres database up and running and how to connect to it. If you decide to try the database connected flavour, this will take you another hour, but it will make your example a multi-language supporting rocket that introduces you to a quick and easy way to ease all your lookup tasks based on a sql database.
JDK installation
Install JDK 5.0 or 6.0 - follow the setup information provided by SUN.
Tomcat installation
Install Tomcat. The quick setup project is preconfigured to run with Tomcat 6.
Eclipse installation
Download and install the Eclipse IDE for Java EE Developers. The IDE contains the complete Eclipse platform plus the Web Tools Project that enables comfortable JSP and XML editing. We've tested this setup with Version: 3.3.2.
Eclipse configuration
Windows-Preferences-Server-Installed Runtimes-Add...-Apache-Apache Tomcat 6.0 -Name:Apache Tomcat v6.0, Installation Directory: Tomcat installation folder
Setup your project
These instructions where tested and the screenshots made with with Eclipse 3.2.1.
- Define CATALINA_HOME and JAVA_HOME in your OS environment. CATALINA_HOME should point to your tomcats root folder (for Tomcat 6.0.16 under XP it is by default installed to C:\Programme\apache-tomcat-6.0.16). JAVA_HOME should point to your JVMs root folder (for JDK 1.6 under XP it is by default installed to C:\Programme\Java\jdk1.6.0). This step requires a eclipse restart to make the changes visible to the launch configurations.
-
Now attach Eclipse to the Sourceforge CVS repository. Click File - New - Project - CVS - Projects from CVS.
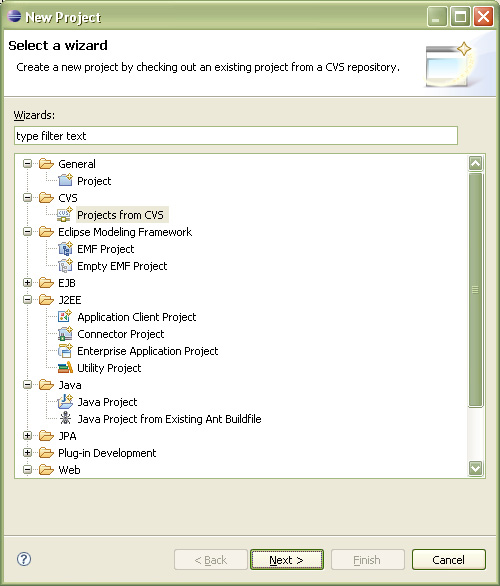
-
Enter repository information as shown in the picture. Leave the password empty:
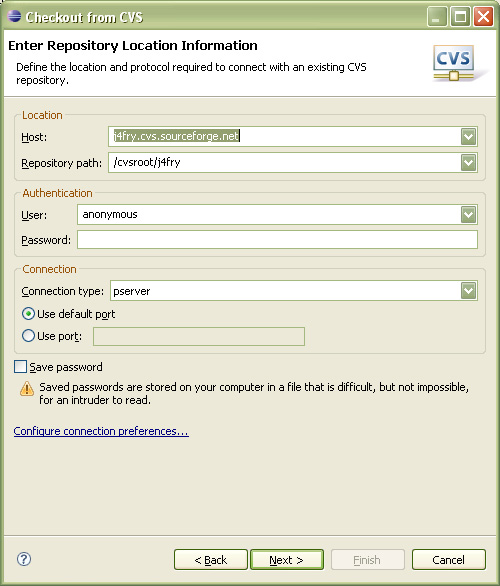
-
Choose "Use an existing module" and select module JSFExamples:
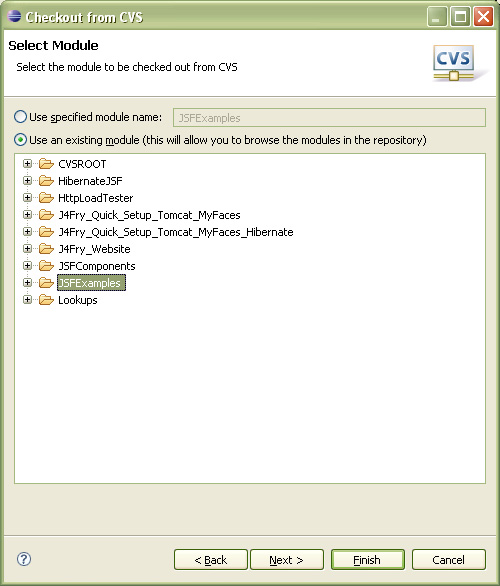
-
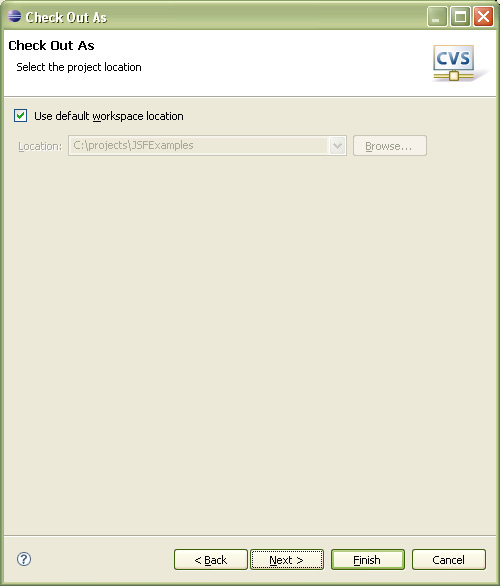
Select JSFExamples as project name (the default) to make the quick project run out of the box.
Will will explain the steps needed to rename the quick setup project later.
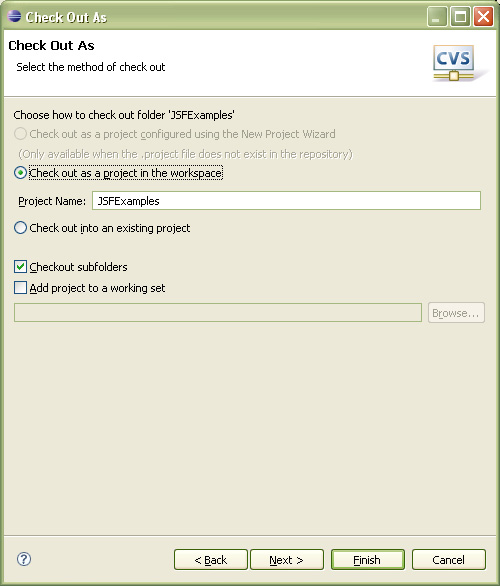
-
You may choose any project location you like, but the path to the project may not include white space (which would be possible if you as running on Windows):
-
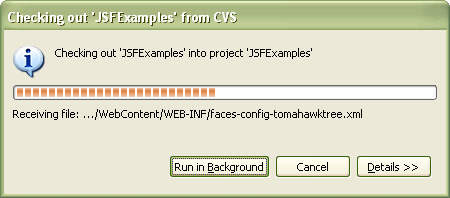
After you clicked "Finish" Eclipse will start to check out the project content into your project folder:
- If your project location is different from c:\projects\JSFExamples then open config/eap/conf/CATALINA/localhost/JSFExamples.xml and replace the docBase with the actual path to your projects WebContent folder. If you are configuring database access set the database user and password.
The quick setup will run out of the box only if you name the project JSFExamples. These are additional instructions that you need to follow if you want to rename the quick setup project:
- Press F2 on the projects root and rename the project to NewName.
- Open config/eap/conf/CATALINA/localhost/JSFExamples.xml Replace path with /NewName and docBase with the new path to your projects WebContent folder. Rename JSFExamples.xml to NewName.xml
- Open config/eap and rename the three launch configurations to "Debug NewName.launch", "Start NewName.launch" and "Stop NewName.launch".
- Click Run - External Tools - External Tools ... and configure the three launch configurations:
- Modify the workspace location to workspace_loc:/NewName/config/eap
- In the the environent tab modify CATALINA_BASE to workspace_loc:/NewName/config/eap
- Save each lauch configuration by clicking "Apply".
At this point you're done if you are configuring the quick setup without database access. Start tomcat by clicking Run - External Tools and choose Start JSFExamples or Debug JSFExamples. Calling http://localhost:8080/JSFExamples now renders the examples main menu.
The Start configuration runs quicker while the Debug configuration allows to attach to the running process and use the Java Debug perspective for debugging your application. The Debug dialog shows you a debug configuration named JSFExamples that allows you to attach to the tomcat process started in Debug mode.
The quick setup with hibernate needs a postgresql database. You may modify the instructions for any other database supported by hibernate in three steps:
- Add your databases jdbc driver to the config/eap/lib folder.
- Change config/eap/conf/CATALINA/localhost/JSFExamples.xml to use your databases driverClassName and url.
- Translate the DDL and DCL statements to your databases language
PostgreSQL installation
In the quick setup project with hibernate support the postgresql database is used to store lookups for the labels used in the Example.jsp. The lookups enable multi-language support that allows the user to switch the language displayed in the frontend. These instruction will refer to the J4Fry Lookups reference.
Install PostgreSQL. Our applications and scripts are tested against PostgreSQL 8.1.
Open an OS shell (Windows command line or UNIX shell).
Create a user to own the tables of your application. From the bin folder of your postgres installation call:
psql -UPostgreSQLAdminUser (replace with the admin user you chose during postgres installation)
From the postgresql console call:
CREATE USER j4fry PASSWORD 'example' CREATEDB;
Create a database owned by your new user. Quit the psql shell by typing \q. From the bin folder of your postgres installation call (the encoding will enable special characters like german umlaute):
createdb -Uj4fry -EUTF8 j4fry
Now you need to execute the DDL statements. To execute these DDL statements in postgresql open a psql console that runs under your database owner. From the bin folder of your postgres installation call from a command shell:
psql -Uj4fry j4fry
Copy and paste the DDL statements from the J4Fry Lookups into the psql console (Press return after the last statement).
Next thing you need are data to fit into your example application. Execute the script that inserts the necessary data into your database from your project folder:
psql -Uj4fry j4fry -f path_to_your_project_folder/config/data/postgres.sql
That's it, calling http://localhost:8080/JSFExamples now renders the Example page with multi language support.